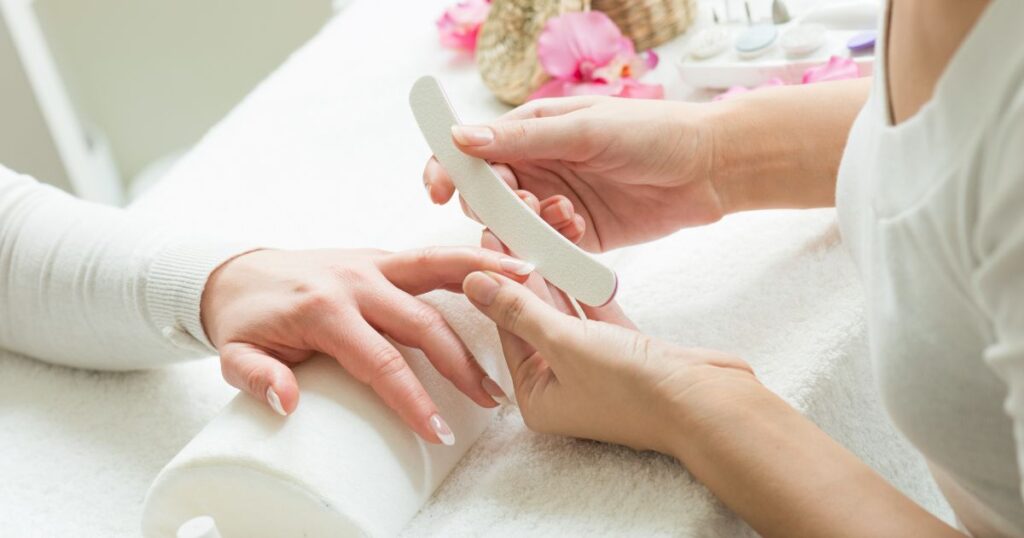
Manicure is an essential nail care routine that keeps your nails healthy and beautiful. Especially, for working women who are exposed to heat and dust daily, getting a weekly manicure is beneficial. However, visiting a salon once a week is a costly investment. Instead we encourage you to indulge in a DIY method of manicure at home. Moreover, incorporating manicure in your daily skin care routine is more effective than visiting the salon occasionally. Keep reading to learn about the important steps of home manicure.
Achieve Salon like Nails by following the Key Steps
Following proper procedures of home manicure is extremely essential to achieve a perfect salon-like nail manicure. Improper application would not only destroy the manicure but can also damage your nail texture and color. Make sure that your nails are in good shape and smooth by following the essential steps.
1. Clean the Nails
Removing the existing nail polish is the first step of a home manicure. Use non-alcoholic nail polish remover and cotton pad to remove the nail polish properly. Any amount of remaining nail polish can affect the application of new nail wraps. Wash your hand properly after applying remover.
2. Shape the Nails
After removing the existing nail polish the second step is clipping and filing nails. You must cut your nails at a length and shape that is comfortable for you. It is recommended to maintain a short-length for your nails as it prevents breakage and cracks. Moreover, short nails are esthetically pleasing with a clean appearance. Make sure to wash your hands after nail trimming.
3. Apply Cuticle Oil
Cuticle oil nourishes the cuticles and your nails. Take a few drops of it on a brush or and dab it for 3 to 5 minutes. Massage the cuticle oil in a circular motion and move from the base of the nails towards tips of the nail. This massage process makes your nail stronger and facilitates faster nail growth.
4. Salt Water Soaking
After clipping and shaping your nail you must clean it to remove dead skin and dirt from your nails. Soak your nails in fresh water with a pinch of epsom salt and keep it for 5 to 10 minutes. Salt water also softens your nails and reduces swelling if any due to ingrown nails. However, in case of dry manicure instead of soaking in salt water a lotion is used to make your skin smooth and glowing.
5. Removing Dead Skin
Salt water soaking makes it easier for you to remove dead skin. Use soft scrub for your hand and gently rub it to remove dead skins, polish your hand knuckles and remove the tans. The skin around your nails becomes smoother and clean in this step.
6. Apply Moisturizer
Applying moisturizer is the essential step after removing dead skins as your skin becomes rough due to exfoliation. Massaging with moisturizer for 10 minutes helps to improve circulation and nourishes your skin. Make sure that you don’t skip this step. You can use body butter or other hand cream that suits your skin the most.
7. Design your Nails with Nail Polish Wraps
After all the preparation steps now it’s time to beautify your nails with your chosen nail polish wraps. Apply a protective base coat to create a strong foundation for the nail wraps. Wait for 3-5 minutes to let it dry up.
Then apply a gel nail wrap of your choice or you can experiment with the colors as you like. However, make sure that the nail polish wraps are attached perfectly with your nails and trim off the excess nail wraps that might be hanging out of your nails. Lastly, apply a final coat to provide added protection to the wraps.
Conclusion
The article has discussed all the essential steps of a perfect home manicure. Hope all this guide proves useful for you. Home manicure offers better results as a single parlor manicure does not last for long. Practicing DIY methods at home weekly allows you to achieve and maintain healthy and shiny nails and hand appearance.


